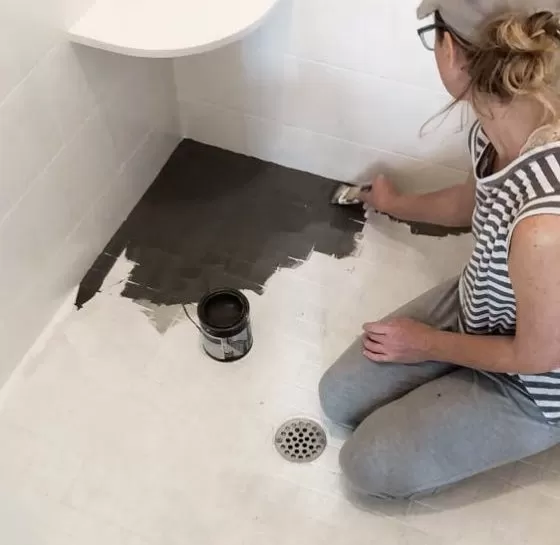
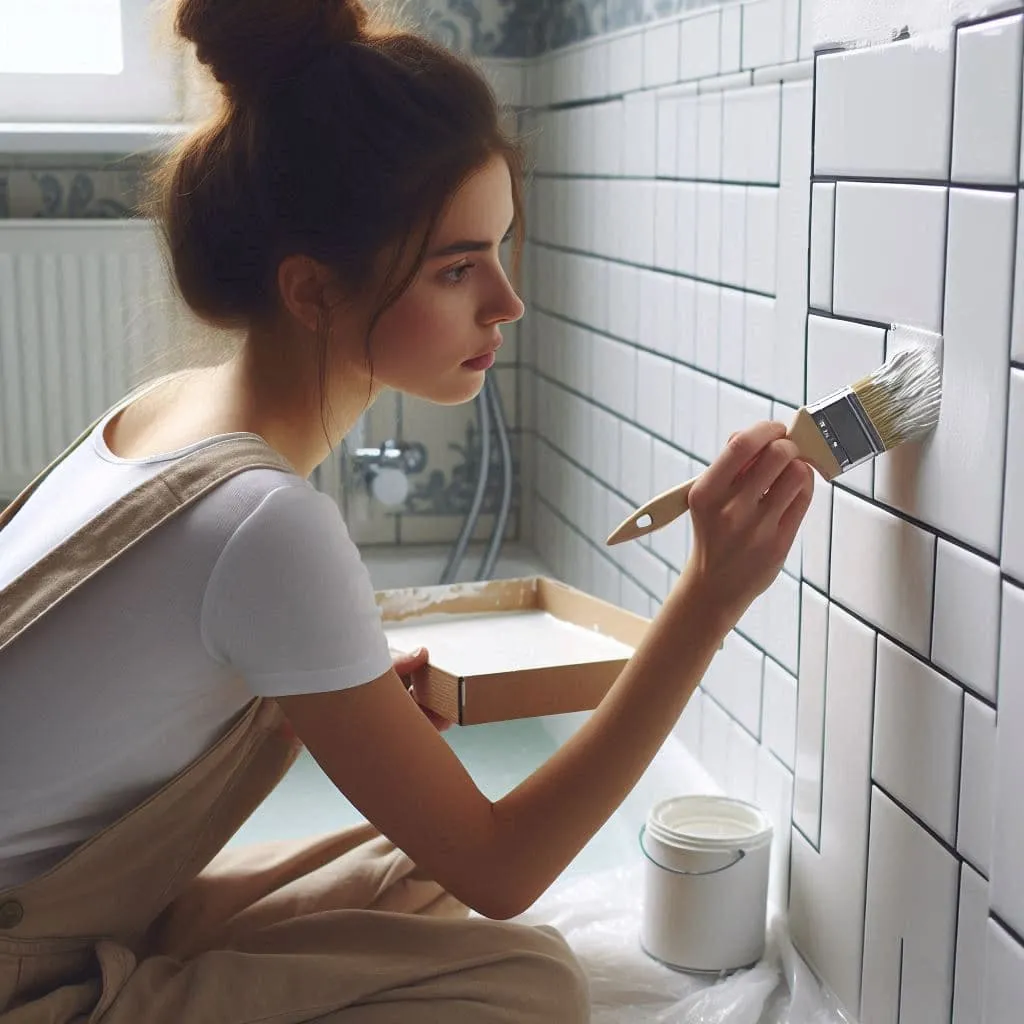
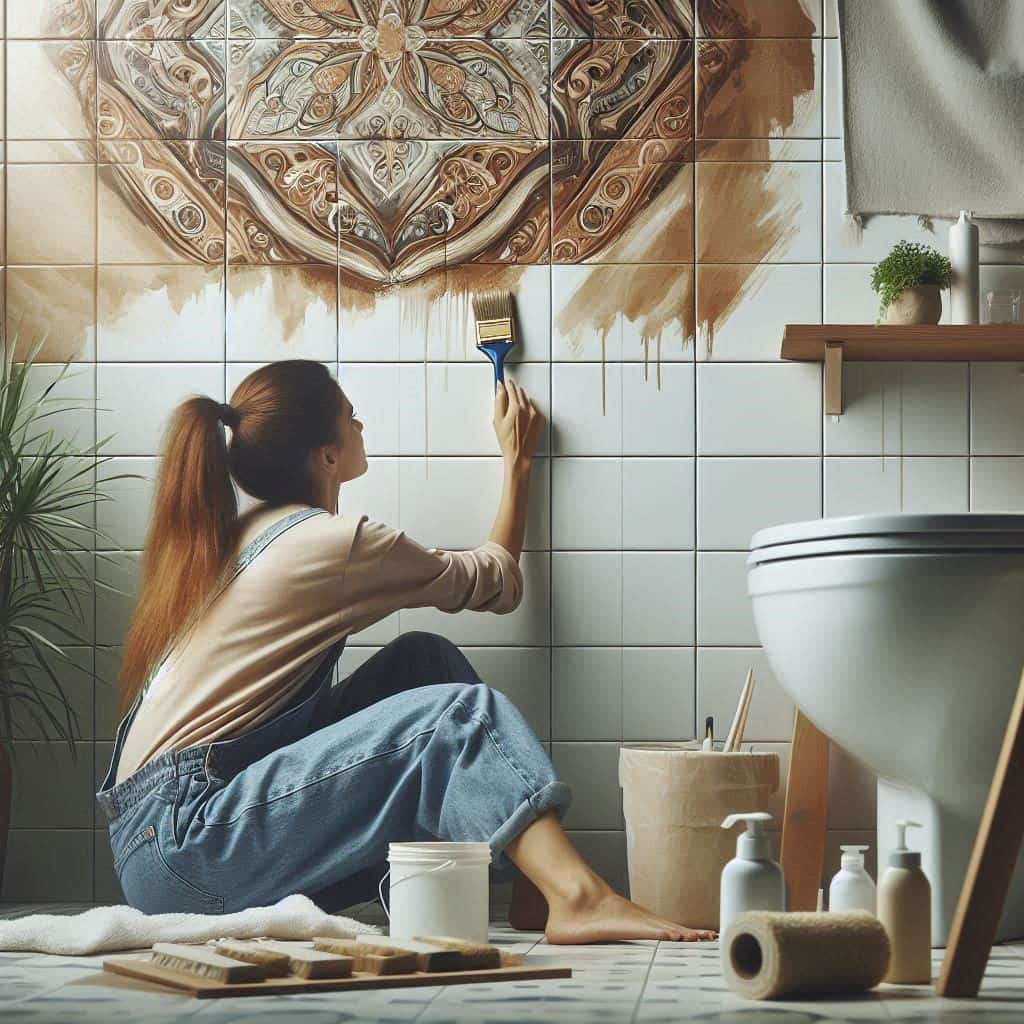
Discover how to transform your bathroom with A Quick DIY Guide to Paint Bathroom Tiles. This easy-to-follow guide covers everything you need, from preparing the tiles to choosing the right paint, giving your bathroom a fresh, modern look in no time!
Tired of outdated or dull bathroom tiles but not ready for a full renovation? Painting your bathroom tiles is a quick, cost-effective way to give the space a fresh, modern look without the expense and hassle of replacing them. With the right tools and techniques, you can transform your bathroom tiles in just a weekend. Here’s a step-by-step DIY guide to help you achieve a professional finish.
1. Gather Your Materials
Before you start, make sure you have all the necessary supplies:
-
Tile paint:
Choose a paint specifically designed for tiles. Epoxy or enamel-based paints are ideal as they provide a hard, durable finish that can withstand moisture.
-
Tile Primer:
A high-adhesion primer is essential to ensure the paint bonds to the tiles properly.
-
Sanding paper for Tile:
Fine-grit sandpaper (around 220 grit) will help roughen the surface for better adhesion.
-
Tile Painter’s tape:
To protect edges and areas you don’t want to be painted.
-
Best Roller or brush for Tiles:
A foam roller works well for a smooth finish on large areas, while a brush is handy for corners and edges.
2. Clean the Tiles Thoroughly
Start by cleaning the tiles to remove dirt, grime, soap scum, and any mildew. Use a good tile cleaner or a solution of water and vinegar. For tougher stains, a mild abrasive cleaner can help. Make sure the tiles are completely dry before moving on to the next step.
3. Sand the Tiles
Lightly sand the tiles using fine-grit sandpaper. This helps create a slightly rough texture for the primer and paint to adhere to. Be gentle—you don’t need to remove the glaze, just scuff the surface. Once you’ve finished, wipe away any dust with a damp cloth and let the tiles dry again.
4. Apply Primer
Using a high-adhesion primer, apply a thin coat to the tiles. Primer is crucial for ensuring that the paint sticks to the smooth tile surface. Allow the primer to dry according to the manufacturer’s instructions—this typically takes several hours. Be patient, as rushing this step can affect the final result.
5. Paint the Tiles
Now it’s time for the fun part—painting! Using your tile-specific paint, apply a thin, even coat with a foam roller or brush. Be sure to follow the manufacturer’s directions on drying times between coats. You may need two or three coats to achieve full coverage, so be patient and let each coat dry thoroughly.
6. Let the Paint Cure
While the paint will be dry to the touch after a few hours, it needs time to fully cure. Avoid using the bathroom, especially the shower or bath area, for at least 2-3 days after the final coat to ensure the paint sets properly.
7. Seal the Tiles (Optional)
If you want extra protection, you can apply a clear, water-based sealant over the paint once it’s dry. This is particularly useful in areas exposed to water and high humidity, as it adds an additional layer of durability to your newly painted tiles.
The key to a successful bathroom painting project is choosing the right type of bathroom paint. Latex or epoxy paint works best for ceramic, porcelain, or unglazed quarry tiles. Latex paint is less toxic and has a milder odour, making it suitable for most bathroom surfaces. For areas exposed to more moisture, such as backsplashes, countertops, or shower surrounds, opt for epoxy paint, which is more durable and water-resistant.
Tips to Paint Bathroom Tiles
- Select the Right Tools: Use high-quality brushes or rollers designed for smooth surfaces to apply the paint. This helps achieve an even, professional-looking finish.
- Apply Thin Coats: Multiple thin coats of paint will adhere better and look more even than one thick coat. Allow each coat to dry completely before applying the next.
- Seal the Paint: After the final coat of paint has dried, apply a clear sealant to protect your work from moisture and wear. This step is crucial for bathroom environments.
Tips for a Long-Lasting Finish
- Ventilation is key: Ensure the bathroom is well-ventilated while painting to avoid fumes and help the paint dry faster.
- Avoid heavy scrubbing: Once painted, be gentle when cleaning your tiles. Use mild, non-abrasive cleaners to keep the paint intact.
Painting your bathroom tiles can give your bathroom a fresh look without the need for costly replacements. With careful preparation and a bit of patience, you can achieve a professional-quality finish that will last for years.
Deciding on a New Look
When choosing bathroom tile colours, consider the overall design and size of your bathroom. Bright colours can make small spaces feel larger and more open, while darker colours add depth and coziness to larger bathrooms. You can also experiment with patterns and designs to create a unique aesthetic that matches your style.
Surfaces to Avoid Painting
While you can paint many bathroom tile surfaces, some areas are less suitable due to high moisture exposure. Avoid painting tiles around countertops, bathtubs, and shower areas where water exposure is constant. Instead, focus on floors, walls, and backsplashes where the paint will have a longer lifespan.
Maintaining Your Painted Bathroom Tiles
To keep your painted bathroom tiles looking fresh, clean them regularly with a mild detergent and avoid abrasive cleaners that can damage the paint. If you notice any chips or peeling, touch up the area promptly to maintain a seamless look.
Cost-Effective and Stylish
Painting bathroom walls and tiles is a budget-friendly way to refresh your bathroom’s look. It lets you control your design and stay updated with the latest trends. Whether you want to lighten up the space or add a bold pattern, painting gives you the flexibility to change your bathroom’s appearance easily.
Final Thoughts
Painting bathroom tiles is a simple and effective DIY project that can dramatically improve the look of your bathroom. With the right preparation, tools, and painting techniques, you can achieve a lasting professional finish. When you are planning to paint bathroom tiles, remember to choose the appropriate paint and follow the steps carefully for the best results. Happy painting!
Transform your bathroom today with these easy DIY tips, and enjoy a refreshed, stylish space without the hassle and cost of a complete renovation. With a little effort and creativity, you can achieve stunning results that you’ll love for years to come.
If you need painting services, rely on Auspaint. With years of experience, we are an ideal choice.
Whether you are looking for commercial or residential painting, we have you covered. Contact us today and bring your vision to your exterior or interior painting.


