When you want to paint a wall after water damage, it poses unique challenges that require thorough preparation for a successful outcome. In Australia, where extreme weather events like heavy rainfall and floods are all too common, water damage can wreak havoc on property surfaces, leading to unsightly bubbling, peeling, and staining of paint. Ignoring these signs can result in further deterioration, turning a well-maintained property into a rundown structure.
It’s crucial to understand the specific steps required to paint a wall after water damage. From assessing the extent of the damage to proper surface preparation and selecting the right paint products, every aspect of the process plays a critical role in restoring the appearance and integrity of the affected walls.
In this guide, we’ll walk you through the essential considerations and wall painting techniques to paint a wall after water damage. Whether you’re dealing with minor water stains or significant structural issues, understanding how to properly paint a wall after water damage is essential for preserving the beauty and value of your property.
Can You Paint a Wall After Water Damage?
To paint a wall after water damage, you need meticulous attention to detail and thorough preparation to ensure lasting results. Whether the water stains are caused by a one-off spill or ongoing issues like leaking pipes or rising dampness, it’s essential to address the root cause before attempting any interior house painting. Ignoring the underlying problem can lead to further damage, compromising the surface’s integrity and the home paint job’s effectiveness.
Once the source of the water damage has been identified and resolved, it’s crucial to allow the affected wall or ceiling to dry completely. Attempting to paint over damp surfaces can result in damage to the existing paintwork and may exacerbate the problem. Additionally, simply applying a new coat of emulsion paint is not sufficient to conceal water stains. Emulsion paint, being water-based, does not provide a barrier against stains reappearing, leading to unsightly marks on the surface.
To effectively address water stains on walls or ceilings, it’s essential to follow a comprehensive process that includes proper surface preparation, the use of suitable primers or sealers, and selecting high-quality paint products designed to resist moisture and stains. By taking the necessary steps to address water damage and employing the right interior painting techniques, you can restore the appearance and condition of your walls or ceilings, ensuring a professional and long-lasting finish.
How do you fix water stains on paint? >> Contact us Today
Covering Water Stains: Essential Painting Tips
To Paint a wall after water damage, you need to do more than just apply a fresh coat of paint. To effectively cover water stains and restore the appearance of the surface, it’s essential to address any underlying damage and prepare the area properly.
If water stains have caused cracks or flaking plaster, it’s crucial to repair these areas before interior wall painting. This ensures a smooth finish and improves the adhesion of the paint. Once the damaged areas are repaired, you can proceed to cover the water stains.
To cover water stains effectively, you’ll need a specialist stain blocker or an oil-based paint. These products create a waterproof barrier that prevents the water stain from penetrating the surface. If you have an oil-based undercoat or gloss at home, you can use these to create a homemade stain blocker. Simply apply the undercoat or mix it with gloss to create an effective barrier.
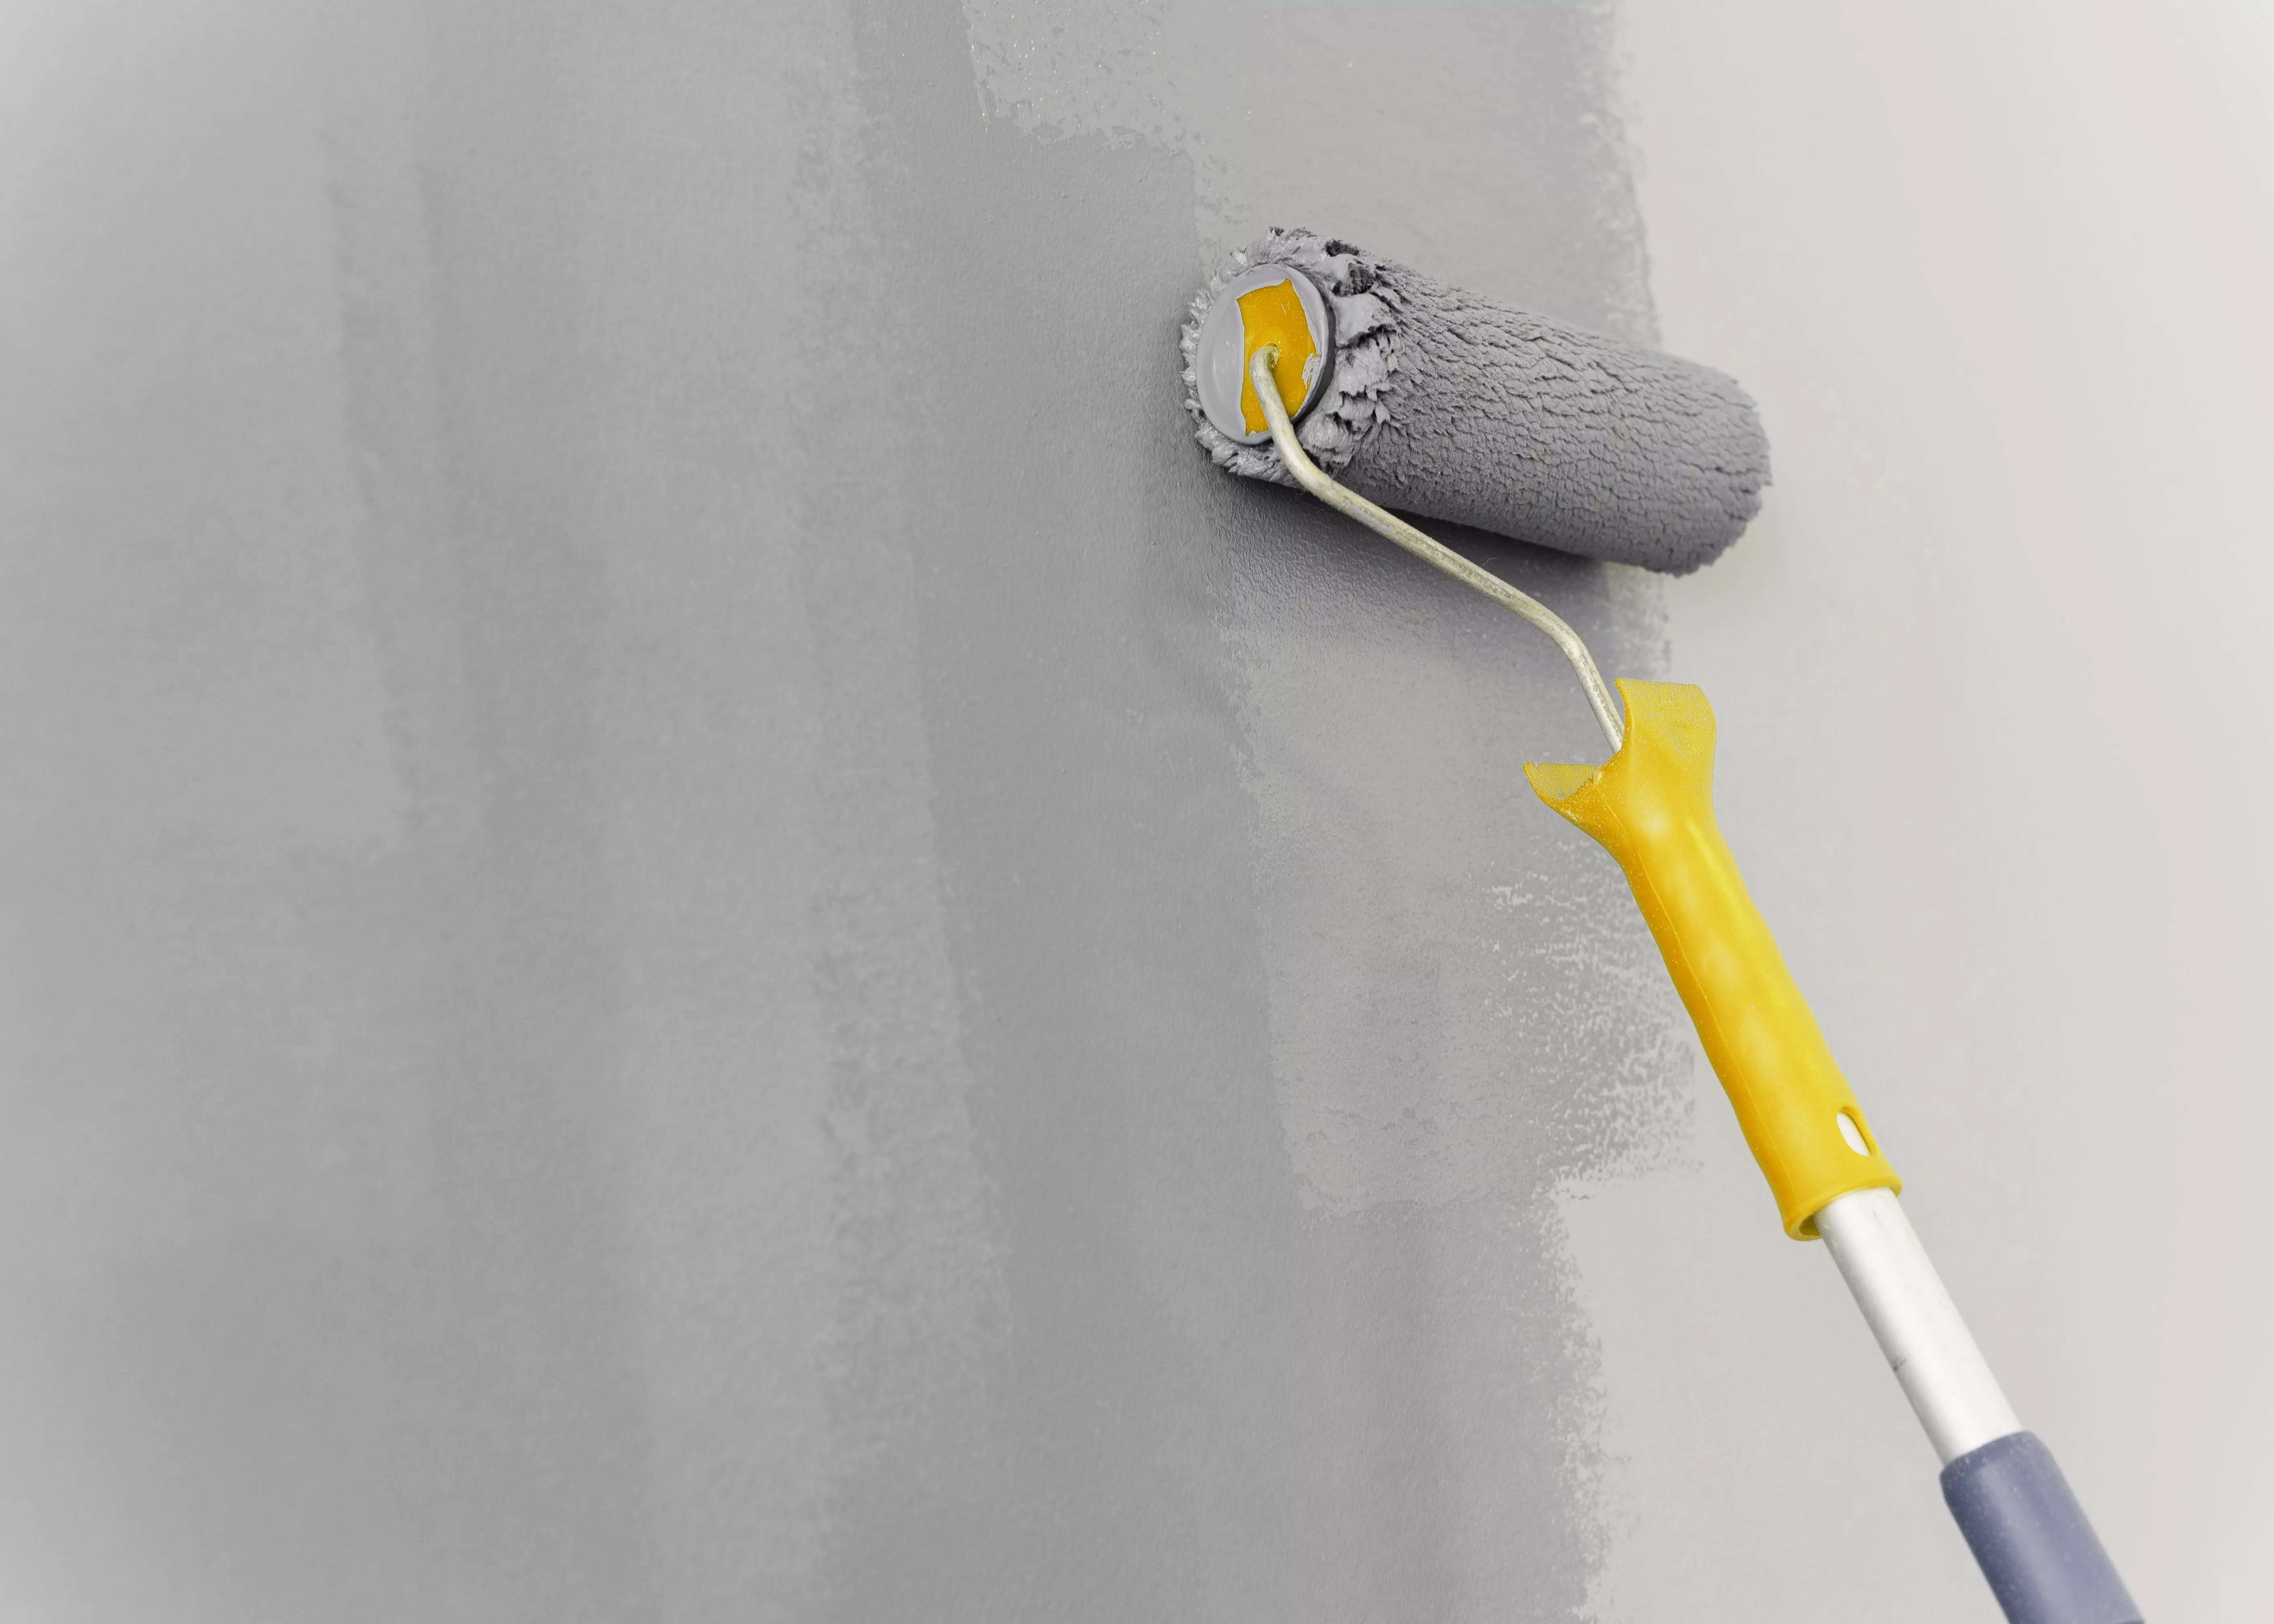
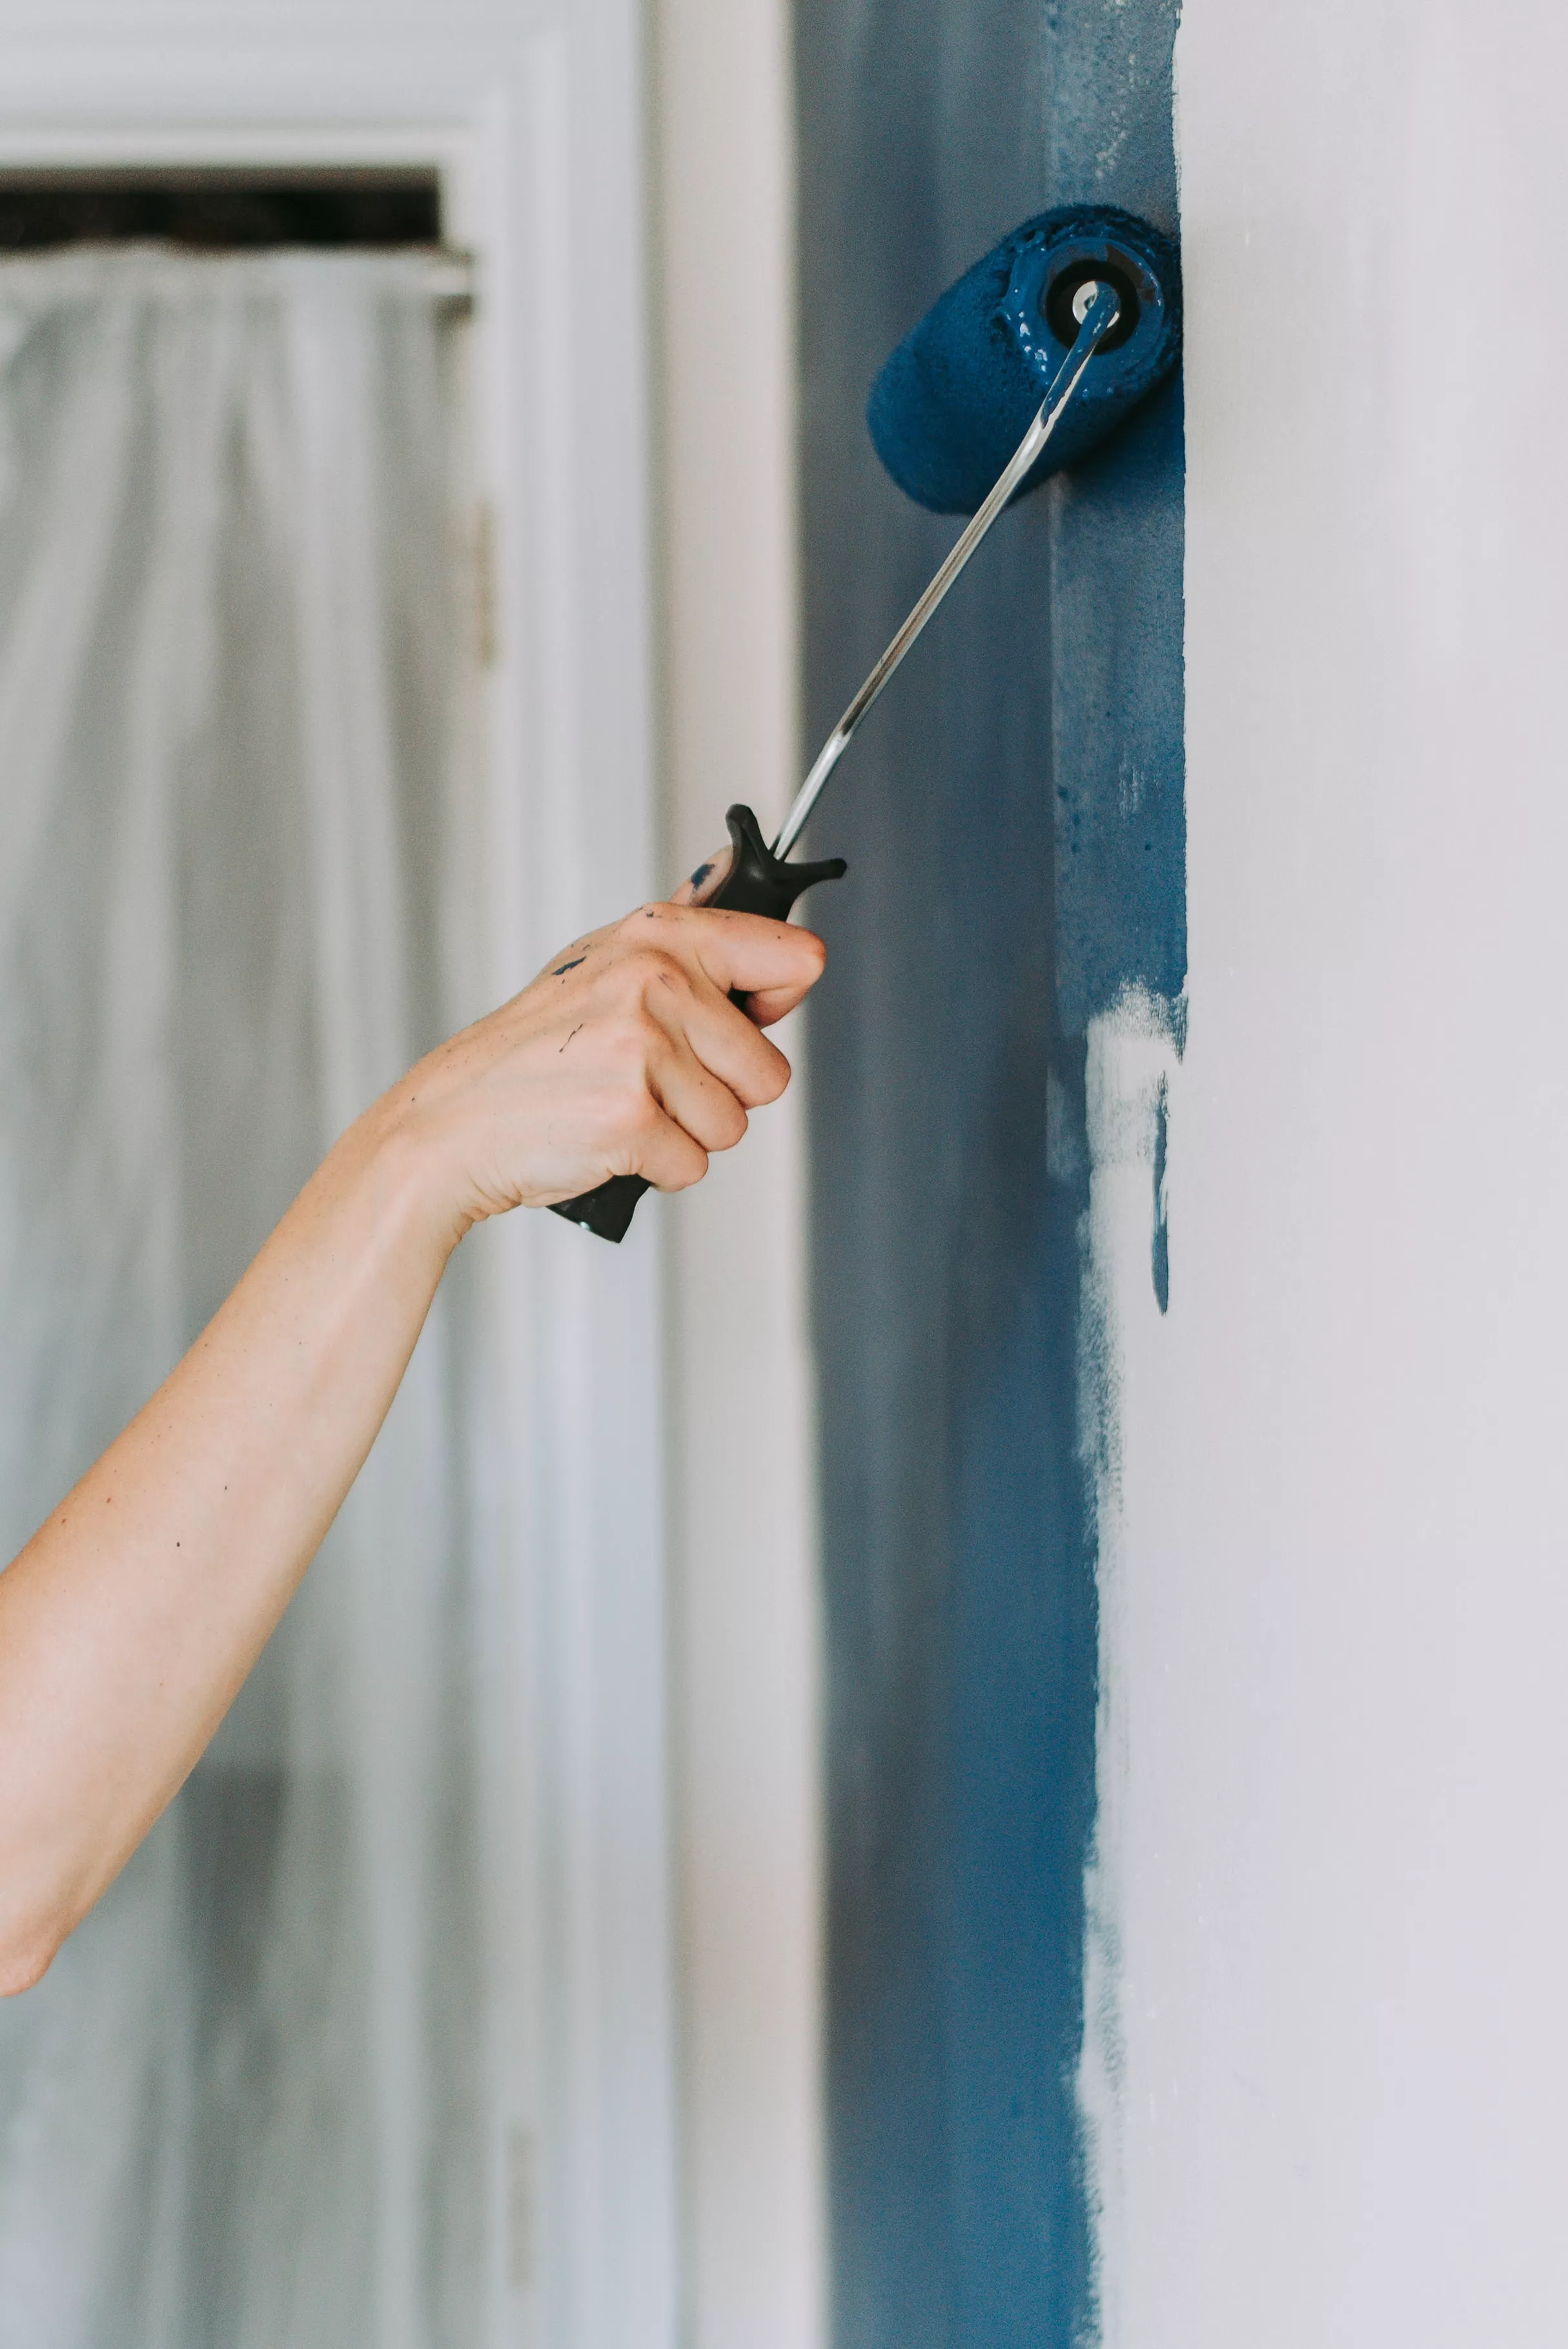
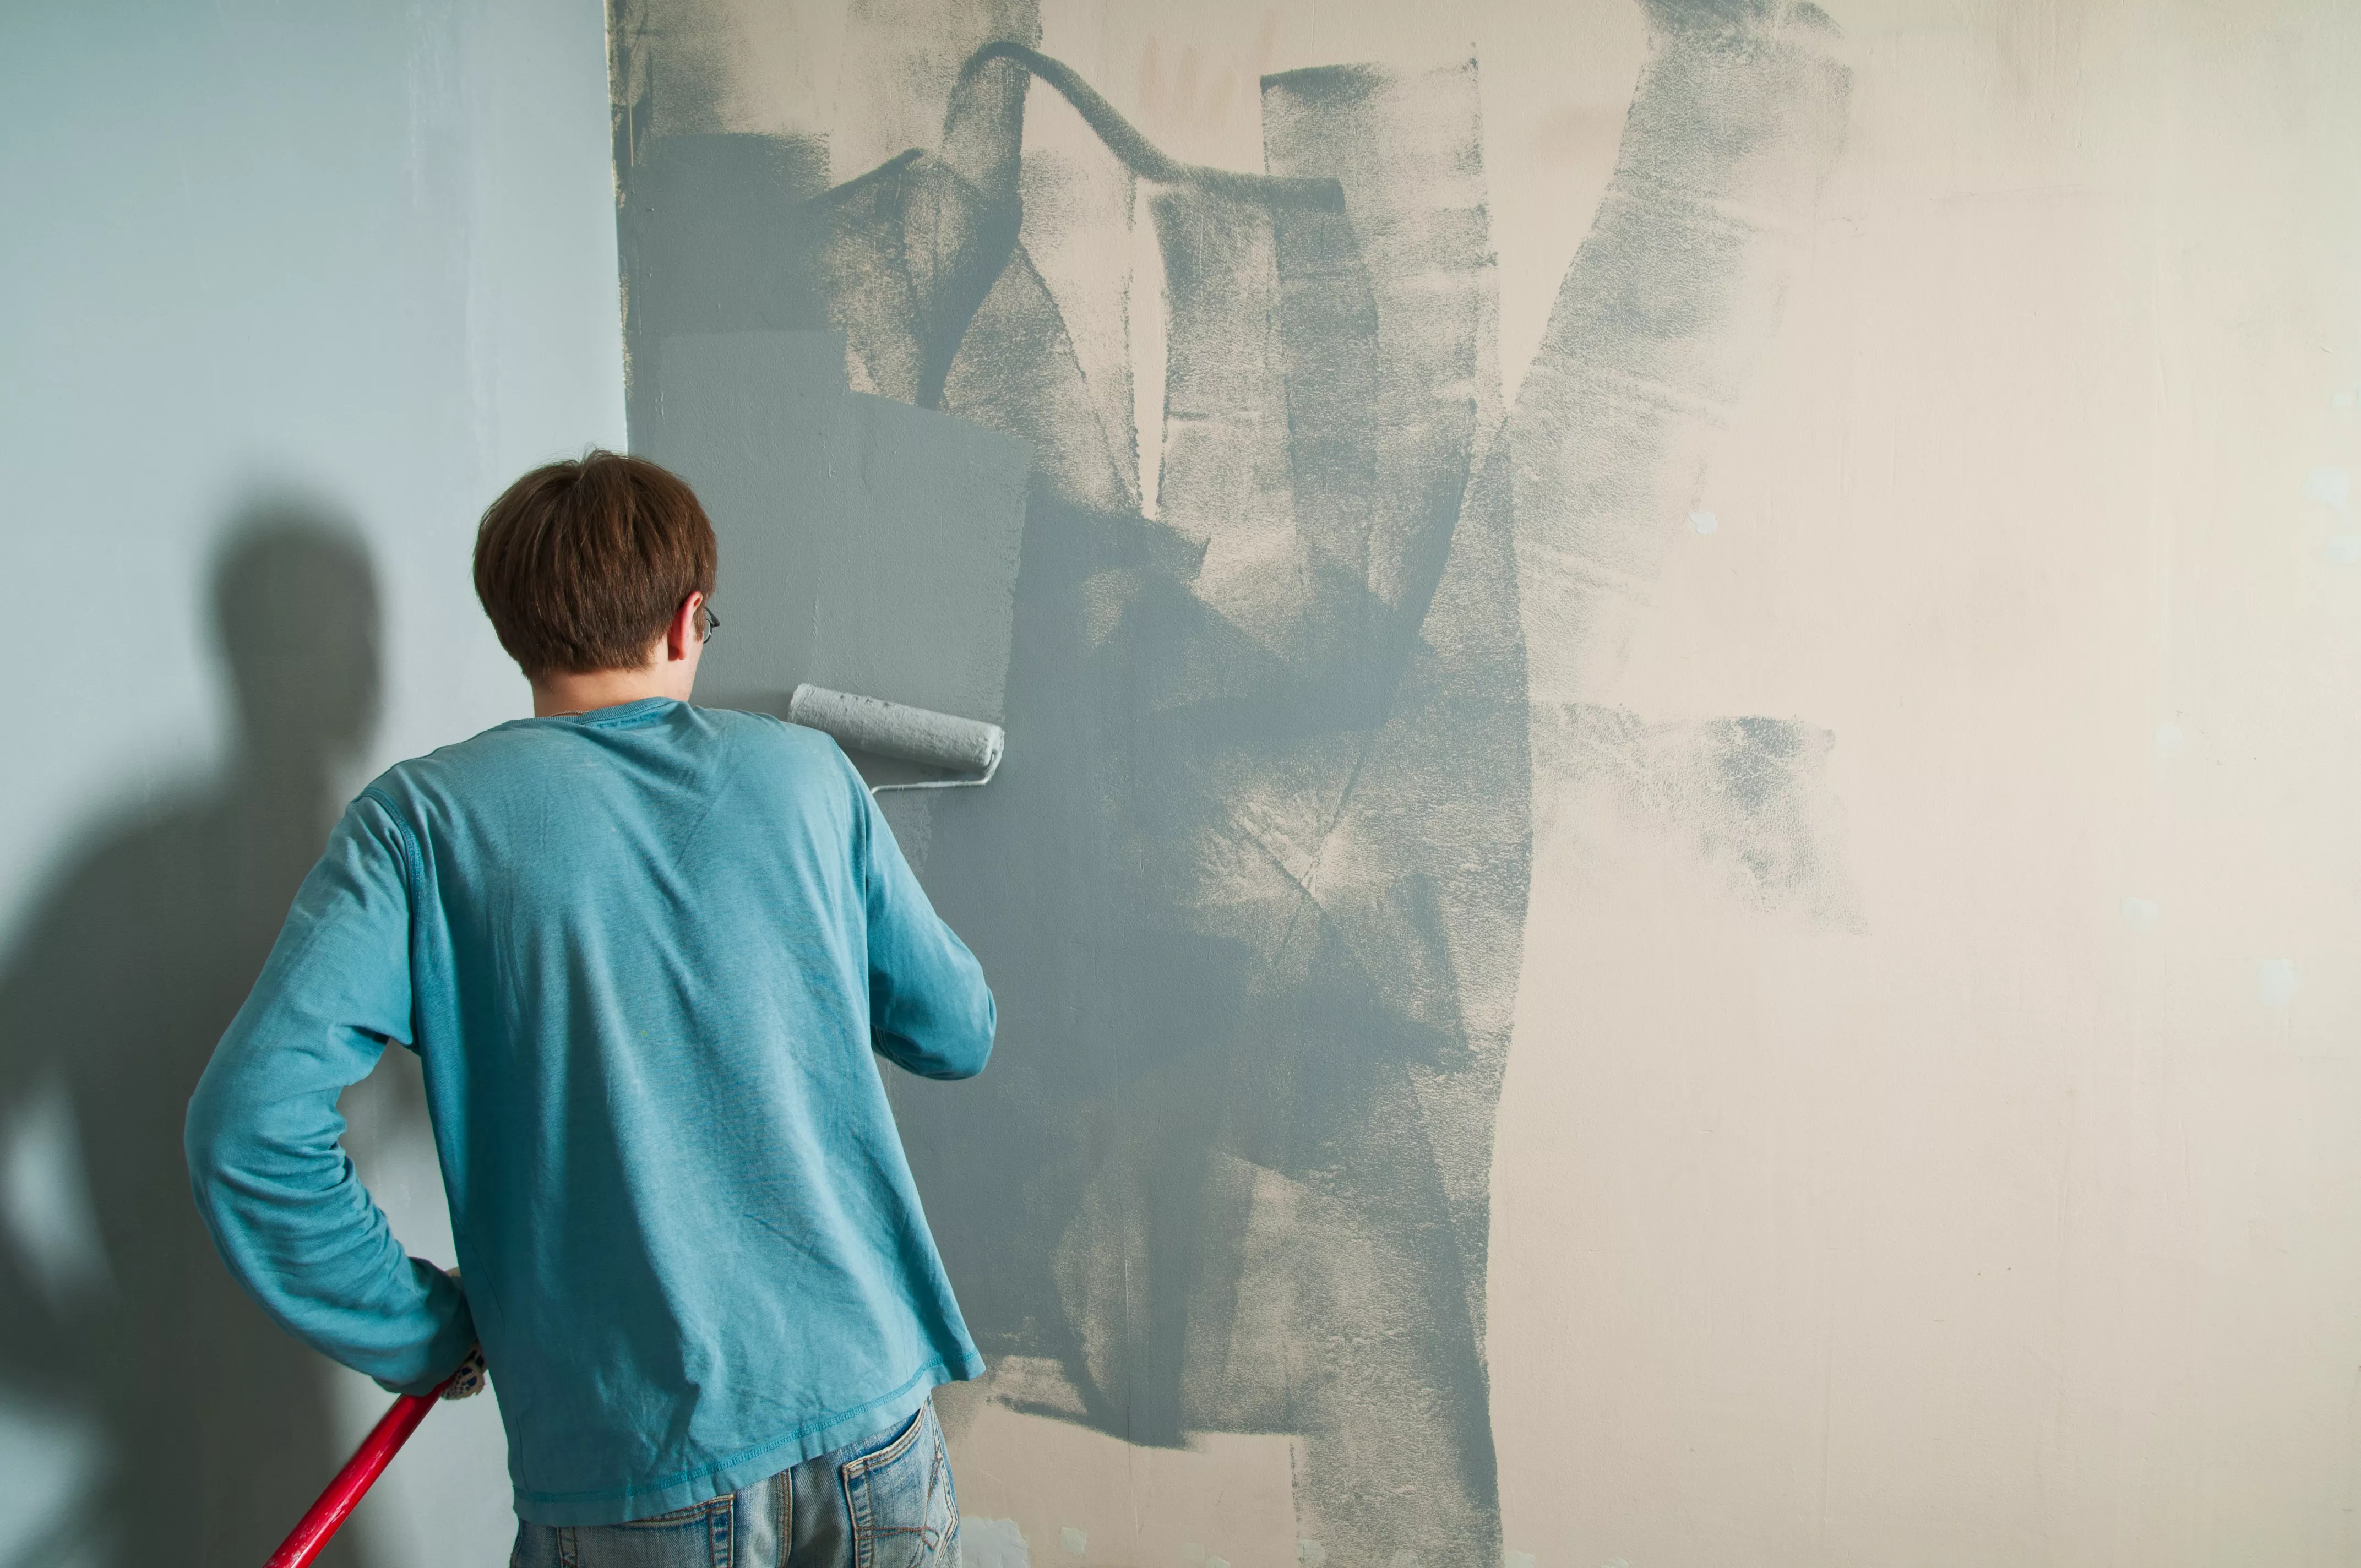
Once you have applied the stain blocker and let it dry, painting over it is quite easy. You can use either a brush or a roller. Remember to feather the edges to ensure the paint blends seamlessly with the surrounding area. Once you’re done, allow the paint to dry completely. One coat should suffice to cover the stain, giving your surface a fresh new look.
After the paint has dried, you can apply your chosen emulsion for the final coat to hide the stain completely. Keep in mind that the new paint may not perfectly match the old paint, so consider giving the entire ceiling or wall a few new coats to achieve the best results for your living space.
Eliminating Water Marks on Lining Paper and Painted Wallpaper
If you’re facing water stains on lining paper or painted wallpaper, worry not, as there are solutions available to tackle this issue effectively. Mixing one part bleach with three parts warm water and applying it onto the stain using a spray bottle can work wonders. After letting it sit for a few minutes, simply wipe it off with a clean, damp sponge. This method is particularly effective on white or light-coloured walls and ceilings, providing a viable solution for those pesky water stains that may appear sporadically.
Is Repainting Over Water Stains Worth It?
Repainting water stains is undoubtedly a worthwhile endeavour. These stains not only detract from the aesthetic appeal of your walls and ceilings but also create an impression of neglect. A fresh coat of paint applied to the affected areas can significantly enhance the overall appearance of your living space, giving it a much-needed facelift.
However, depending on the severity of the water stains, you might find yourself undertaking a more extensive interior residential painting project than anticipated. In such cases, it’s essential to equip yourself with the best paint rollers and brushes to ensure a smooth and professional finish throughout your home. With the right tools and approach, you can restore the pristine look of your walls and ceilings, leaving behind any traces of water damage.
6 Simple Steps to Paint a Wall After Water Damage
Addressing water damage before painting walls is crucial to ensure a lasting and visually appealing result. Here’s a straightforward guide to painting a wall after water damage:
- Clean the Area:Start by scrubbing the surface with a clean, moist towel to remove any dirt or dust. Allow the area to dry thoroughly before proceeding.
- Surface Scraping:Use a paint scraper to remove any bubbles, peeling, or flaking paint around the damaged area. Follow up with a wire brush to eliminate any remaining paint or debris.
- Use a Wood Filler:Apply a thin layer of wood filler to the wall using a putty knife, extending beyond the boundaries of the damaged area. Bend the putty knife slightly for easier application.
- Sand the Area: Gently sand the filled area using fine-grit sandpaper until it matches the surrounding surface. Be careful not to sand too hard, as this may damage the wood.
- Apply a Sealer or Primer: Use a water-based primer to prepare the wall for painting. Apply the primer evenly to ensure proper adhesion and coverage.
- Repaint the Affected Area: Once the primer is dry, repaint the area with your chosen colour. Consider repainting the entire wall to ensure a seamless finish.
By following these six simple steps, you can effectively repair water-damaged wall paint and restore the appearance of your walls. Don’t let water damage ruin the look of your home – take action and refresh your walls with a fresh coat of paint.
Need Help?
Do you need the help of professional house painters to refresh your walls after water damage? Look no further than Auspaint Sydney for all your painting needs. Our team of professional residential painters specialises in house painting, wall and ceiling painting, restoration, epoxy painting, and a range of residential painting services, including both interior and exterior painting. Whether you’re dealing with water damage or simply looking to revitalise your space, we’ve got you covered. Contact us today for expert painting solutions that bring new life to your home.


